How to install and configure Dictalogic AutoSync
Overview
This article provides a step by step guide to downloading, installing, and configuring the Dictalogic AutoSync application on a Windows computer.
Applies to
All Users, IT Administrators
Prerequisites
Before installing AutoSync, ensure the following conditions are met.
You have an active Dictalogic account. AutoSync is linked to your individual Dictalogic user account and will upload recordings under your credentials.
You have a compatible digital voice recorder or a folder based workflow. AutoSync works with USB connected voice recorders (Philips, Olympus, and others) or any folder path on your computer or network where recordings are saved.
Your computer is running a supported version of Windows. AutoSync is a Windows desktop application. Contact Dictalogic support to confirm the minimum supported Windows version for your installation.
You have an active internet connection. AutoSync requires internet access to upload recordings to the Dictalogic cloud.
Administrator rights on the computer may be required to install the application. Contact your IT department if you receive a permissions error during installation.
Step 1: Download AutoSync
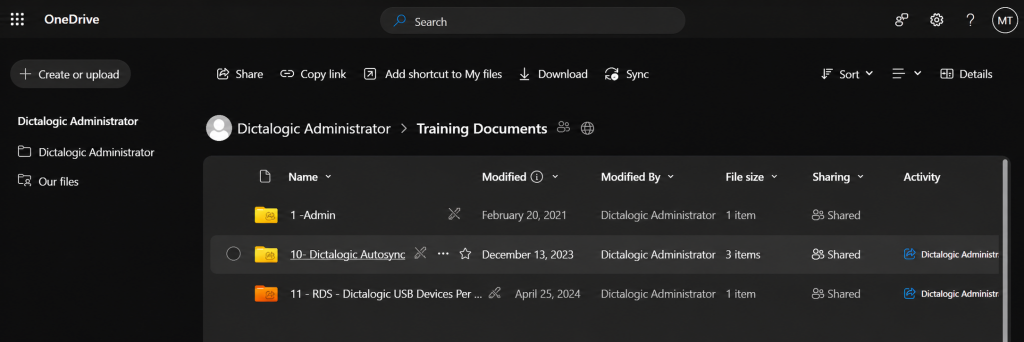
Log in to your Dictalogic account via the web portal. Navigate to the Downloads or Applications section of your account dashboard. Locate the AutoSync installer and download it to your computer.
Step 2: Run the Installer
Locate the downloaded installer file and double click it to begin installation. Follow the on screen prompts to complete the installation. If prompted for administrator rights, enter your Windows administrator credentials or ask your IT department to complete the installation on your behalf.
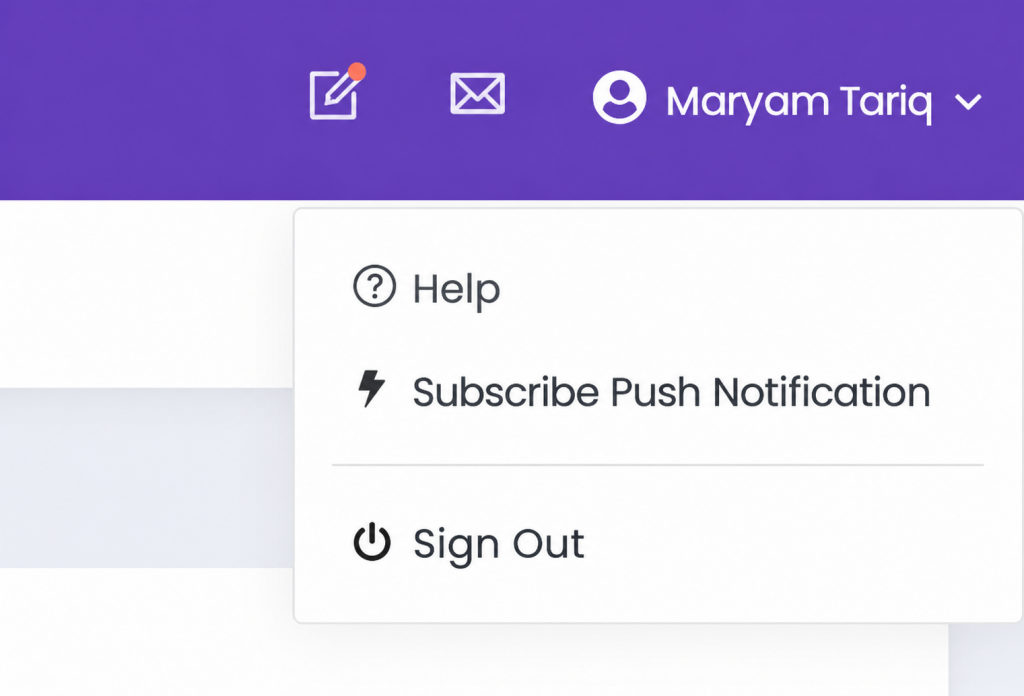
Step 3: Launch AutoSync
Once installed, AutoSync will typically launch automatically and may appear as an icon in the Windows system tray (the area at the bottom right of your screen, near the clock). If it does not launch automatically, open it from the Start Menu or desktop shortcut.
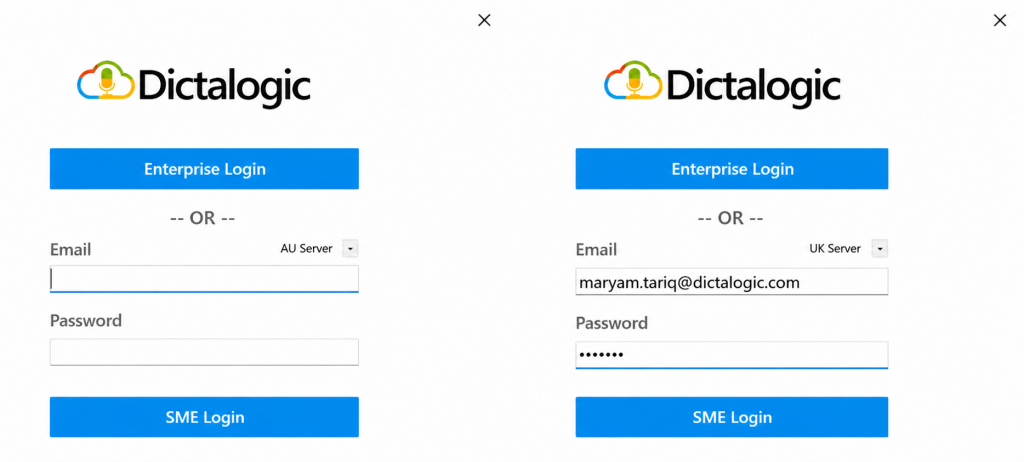
Step 4: Sign In
Enter your Dictalogic username and password to sign in to AutoSync. If your organisation uses Single Sign-On (SSO) via Office 365, select the SSO login option and authenticate using your organisational credentials.
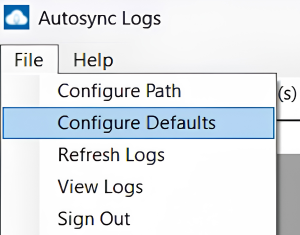
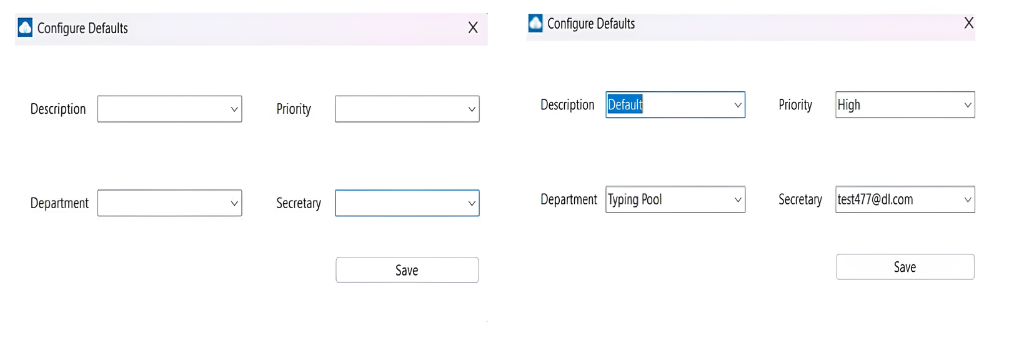
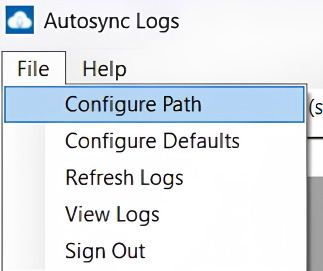
Step 5: Configure Defaults
Navigate to the Configure Defaults section in the application settings.
- Add a description for default types, such as:
1 Document
2 File
3 Email
4 Fax
- Set the priority level for file processing:
1 High
2 Medium
3 Low - Assign audio files to specific department pools if there are multiple transcribers.
- Select a secretary responsible for managing the audio files.
Step 6: Configure Paths for Audio Files
Navigate to the Configure Path section within the application settings.
Specify the default paths for audio files based on the dictation device:
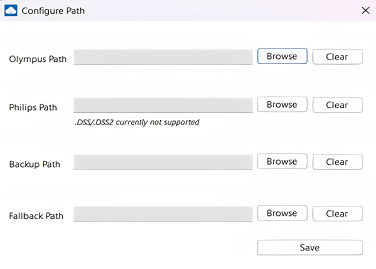
- Philips devices: Path where audio files are created or synced when the device is docked.
- Olympus devices: Path where audio files are created or synced when the device is docked.
Step 7: Start the Service
Start the Auto Sync service by clicking the Start Service button.
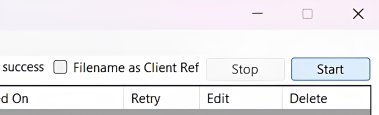
Ensure the service is running to enable file synchronization.
Automatic Audio File Import and Transmission
- Once the service is running, audio files from the specified paths will be automatically imported into the system.
- These audio files will then be sent to their default transcribers for processing.